Asset Libraries
Asset Libraries allow you to store elements and styles so that they can be easily reused. Libraries may include components, graphics, colors and typographies. Learn how to create and manage them to better organize the pieces of your designs and speed your workflow.
Assets
Asset types
In Penpot you can store different type of assets:
- Components: A component is an object or group of objects that can be reused multiple times across files (projects and teams in the future). Learn more at the components section.
- Colors: Create your color styles and use them on fills and strokes.
- Typographies: Penpot allows you to save typography styles with a set of reusable properties. You can always unlink a typography style maintaining the properties for the text layer.
- [Deprecated] Graphics: In Penpot versions older than 2.0, bitmap and vector images can be stored at the Graphics section. This type was deprecated in favor of components.
Add assets to libraries
You can use the “+” icon to add assets. Each of the categories have their own specific adding action.
Components
There are two ways to add components to an assets library:
- Main components are automatically stored in the local library at the moment of being created. Learn more about components at the components section.
- Clicking the “+” to launch import an image that will be added as a component.
Colors
Click the “+” to launch the color picker and add a color to the library. Learn more about managing color
Typographies
All typography styles created from the text properties (at the right sidebar) are automatically stored at the library. You can also click the “+” to create a new typography style from scratch.
Tip: If you select a text layer with certain properties (font family, size, line height...) and click the "+" at the Typographies section at the assets library (left sidebar), the created typography style will include the properties of the text layer.
Edit assets
Press left click over any asset of the library to show the options menu. Some options are available only for certain assets.
- Components: Rename, duplicate, delete, group.
- Colors: Rename, edit, delete.
- Typographies: Rename, edit, delete.
Use Assets
- Components: Drag the component directly from the library to the viewport.
- Colors: With a shape or a text selected click a color from the library to apply it as a fill. If you press Alt (or ⌥ in macOS) while clicking, the color will be applied to the stroke.
- Typographies: With a text layer selected click a typography style from the library to apply it.
Organize assets
Learn how to better view and organize your assets:
Assets list views
You can switch between list and grid views.
- Grid view: With the thumbnails displayed is easier to visually identify the content of specific assets, specially components.
- List view: Optimized to identify the assets by their names and view more assets at the same time.
Sort assets
Click the sort button to change the alphabetical order.
Search assets
Use the Search assets box to filter the assets with names that match what you write.
Filter assets
You can decide whether to show all asset types or only one of your choice (components, colors or typographies).
Multiselect assets
Group assets
There are two ways to create groups in a library.
- With slashes (/): Select an asset and rename it as follows: "FOLDER NAME/ASSET NAME". For example, "Buttons/Alert Button".
- With the "Group" option: Select one or more assets at the library, then right click to show the menu and then select "Group".
Ungroup assets
You can ungroup the assets the same ways you can group them, via the menu option ("Ungroup" in this case) or renaming them.
Drag assets to groups
One very direct way to move assets between groups at the libraries is by dragging them.
Libraries
File libraries
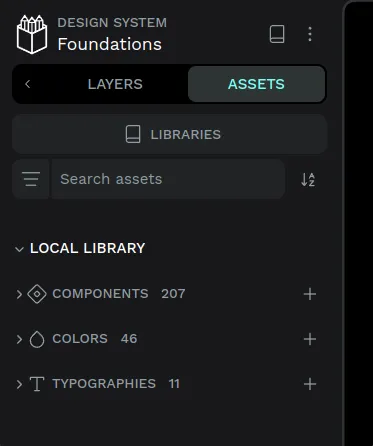
Each file has its own file library which is where the assets that belong to this file are stored.
You have two ways to access the file library from the file workspace:
- Click the assets tab icon at the left sidebar.
- Press Alt/⌥ + i.
Shared libraries
Publish as shared library
You can publish any regular file as a shared library. This means that the file library of this file will be available to be connected to other files that exist in the same team, so its library assets can be reused.
There are two ways to publish a library:
- Using the file main menu.
- From the libraries panel, that you can launch by clicking on the "Libraries" button that is found at the assets tab.


Unpublish a shared library
You can unpublish any library anytime the same way you can publish it, both from the file menu and the libraries panel.
Unpublishing a library will disconnect it from the files where it was connected. The assets that have already been used in other files will remain, but no longer linked with the now unpublished library.
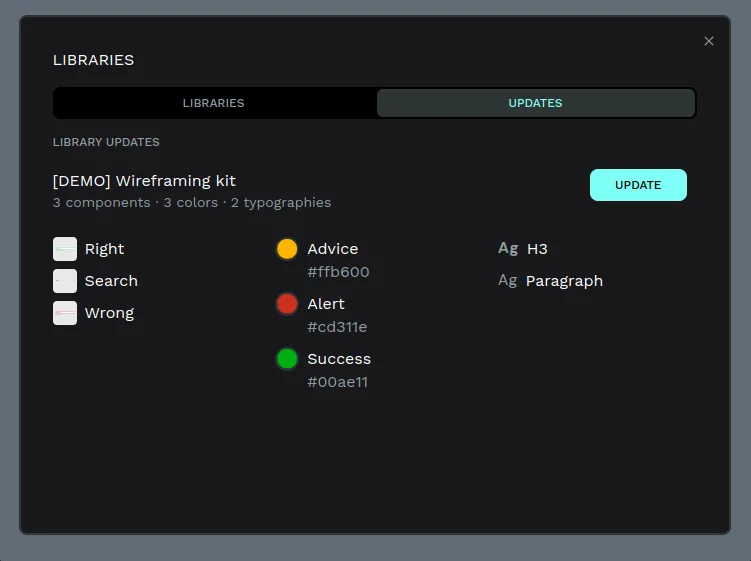
Library updates
Connect shared libraries
To add a Shared Library from another file, launch the libraries panel, then search and select the available libraries.
Disconnect shared library
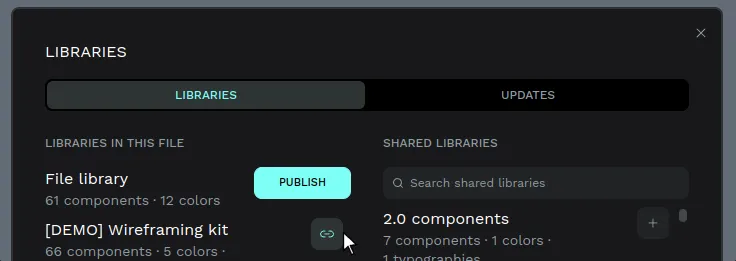
You can disconnect any library anytime from the libraries panel just by clicking on the disconnect button.
Use shared libraries
Shared libraries will be listed at the assets panel, at the workspace left sidebar. You can expand and collapse them to access the assets of each connected shared library.
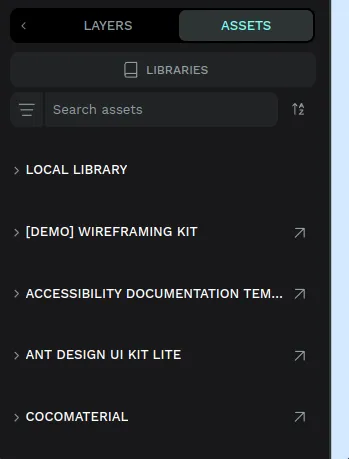
Open shared library file
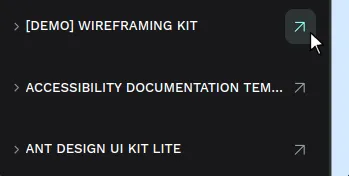
Click on the arrow icon at the right of a shared library name to go to the file where the library is and edit its contents.
